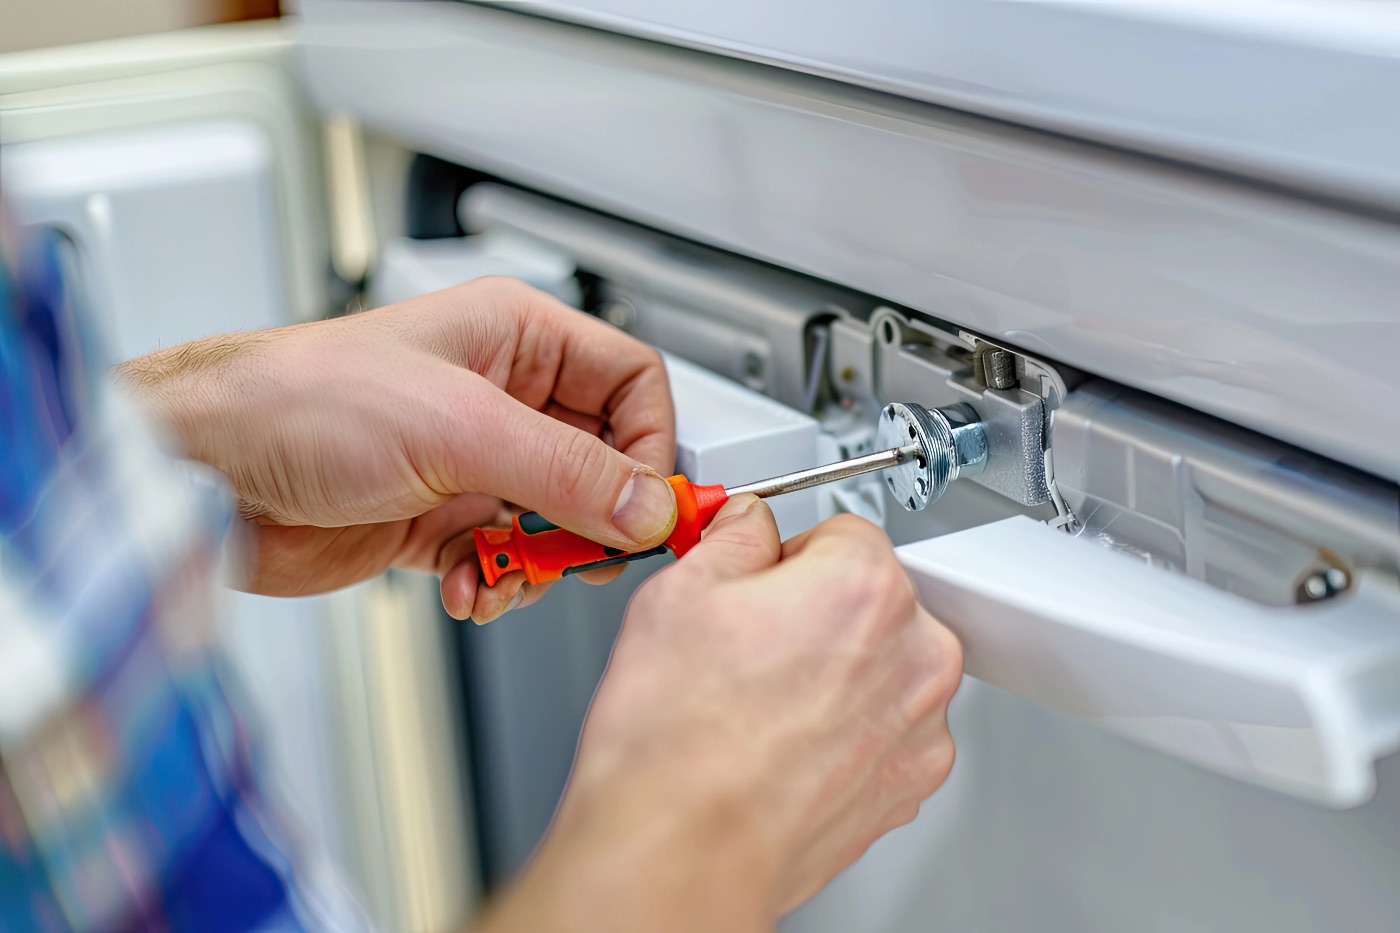
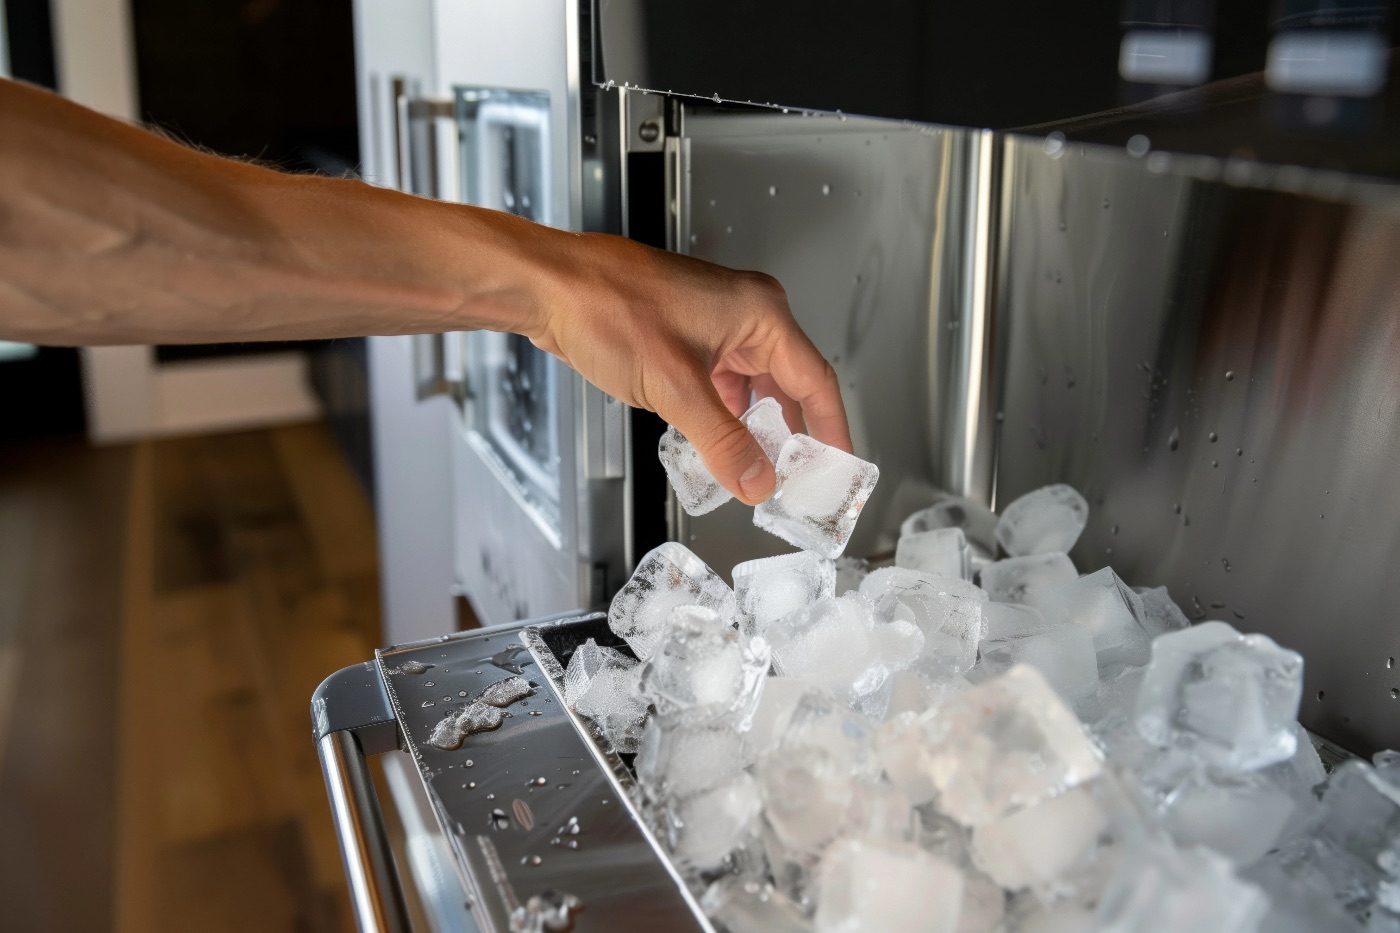
To reset an ice maker, first turn the ice maker off for about five seconds and turn it back on. If that does not work, press and hold the reset button for five seconds, or lift and lower the feeler arm a few times. As a last step, switch off the breaker to the refrigerator for one minute and then restore power. Most ice makers start a new cycle within a few hours and may take up to 24 hours to return to full production.
A reset clears minor glitches, such as a stuck cycle or a confused control board, but it cannot fix a broken part. This guide walks you through the safe steps for each method, shows brand-specific tips, and explains when ice maker repair is the smarter move.
When You Should Reset Your Ice Maker
A reset is a good first step when your ice maker acts strangely but nothing looks broken. The control module inside the ice maker runs on a simple timed cycle. After a power flicker, a filter change, or a bump to the switch, that cycle can freeze in the wrong place.
Common reasons to try a reset include an ice maker that stopped making ice, a unit that will not release a finished batch, or one that keeps running without a stop. A reset is also helpful after you have fixed a problem, such as a frozen water line, and want the ice maker repair to start fresh.
Before You Start: Quick Checks
A reset takes only a few minutes, but a short check first can save you the trouble. Many ice makers fail for simple reasons that a reset will never solve.
Look at the ice bucket first. If it is full or crooked, the ice maker may think it has made enough. Make sure the bucket is seated all the way in. Then check that the feeler arm is down and not blocked by a pile of ice. Also confirm that the water supply valve is open and that the freezer is cold enough, ideally around 0°F.
Last, put a towel and an empty bin under the ice maker. A reset can trigger a fill cycle right away, and a little water may spill.
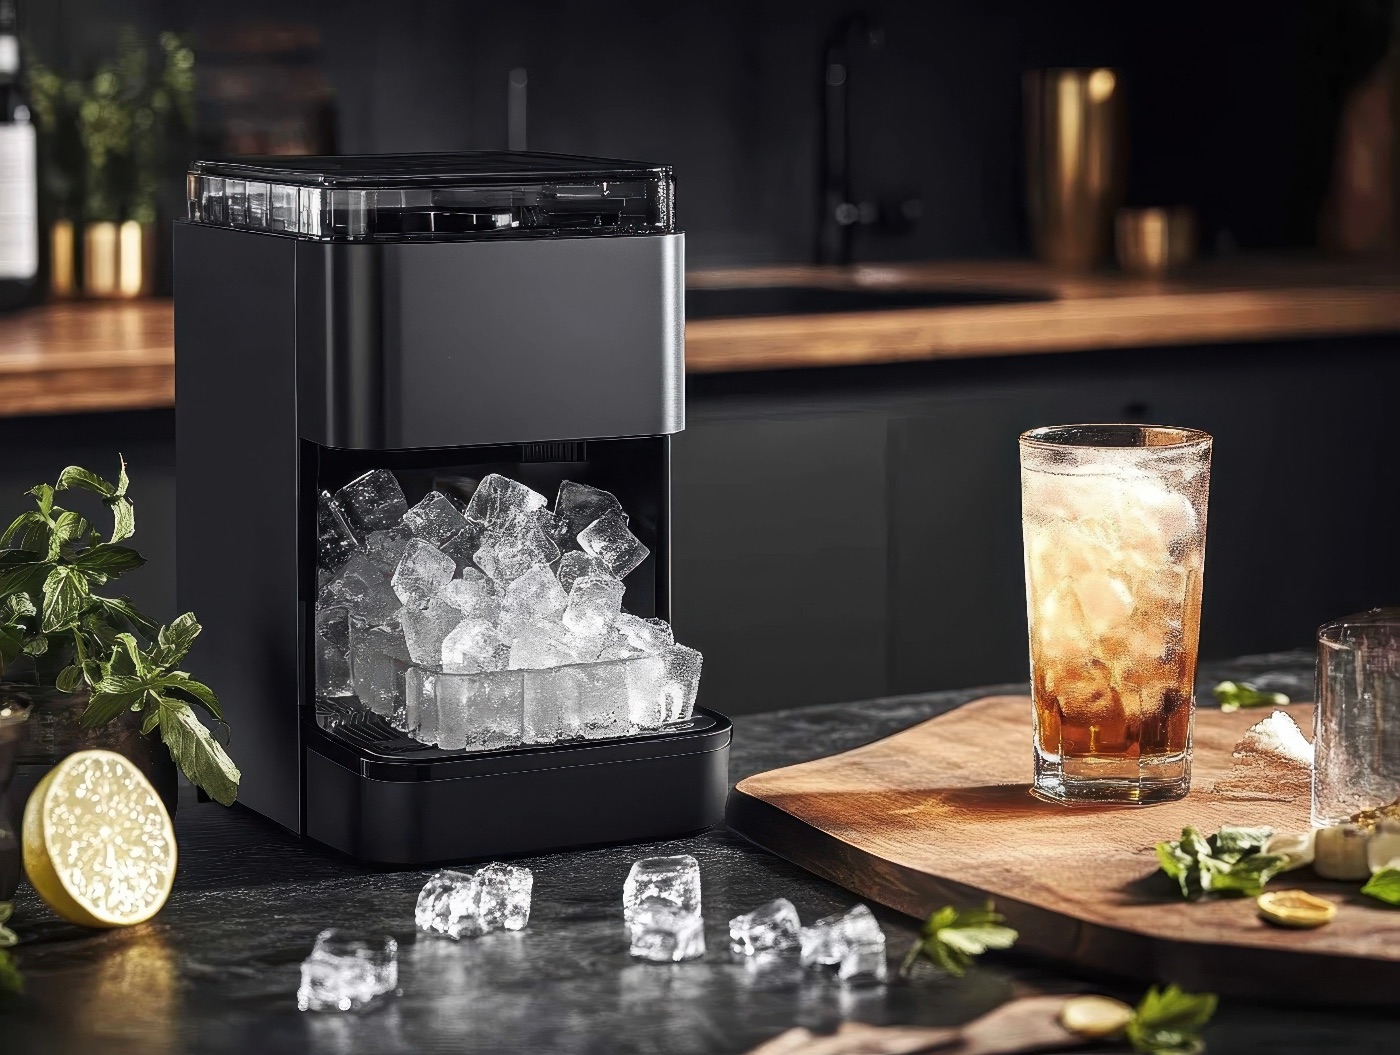
How to Reset an Ice Maker Step by Step
Start with the gentlest method and move to the next one only if nothing happens. Each step is safe for most homeowners.
The Basic Reset Methods
- Power cycle the fridge: Unplug the refrigerator or flip its breaker off, wait about one minute, and turn it back on.
- Use the on/off switch: Turn the ice maker switch to off, count to five, and switch it back on.
- Press the reset button: Hold the small reset or test button for about five seconds until you hear a click or a chime.
- Cycle the feeler arm: Lift the arm up and lower it down a few times to restart the harvest cycle.
- Wait and watch: The unit should move, dump any ice, and begin filling with water.
Give the ice maker at least 24 hours before you decide the reset failed. A full tray needs time to freeze, so a quick check after an hour will not tell you much.
Brand-Specific Reset Tips
Not every ice maker uses the same layout, so a quick look at your model helps. The steps below are general, and your owner's manual always has the final word.
- Samsung models often have a small reset or test button on the front of the ice maker head. Pull out the ice bucket, press and hold the button for about five seconds, and listen for a single chime. One chime with movement usually means the reset worked, while several chimes can point to another problem.
- GE ice makers use a feeler arm with a small spring. If the spring has slipped out of place, the arm cannot signal the unit properly. Put the spring back in position, turn the ice maker off and on, and then lift and lower the arm a few times.
- LG models, including slim designs, often have a reset button near the bottom left of the ice maker. Open the compartment and hold it for about five seconds. Whirlpool units use a control module with a built-in test point that technicians use to force a cycle, so for that model a power reset is usually the safest option at home.
What to Expect After the Reset
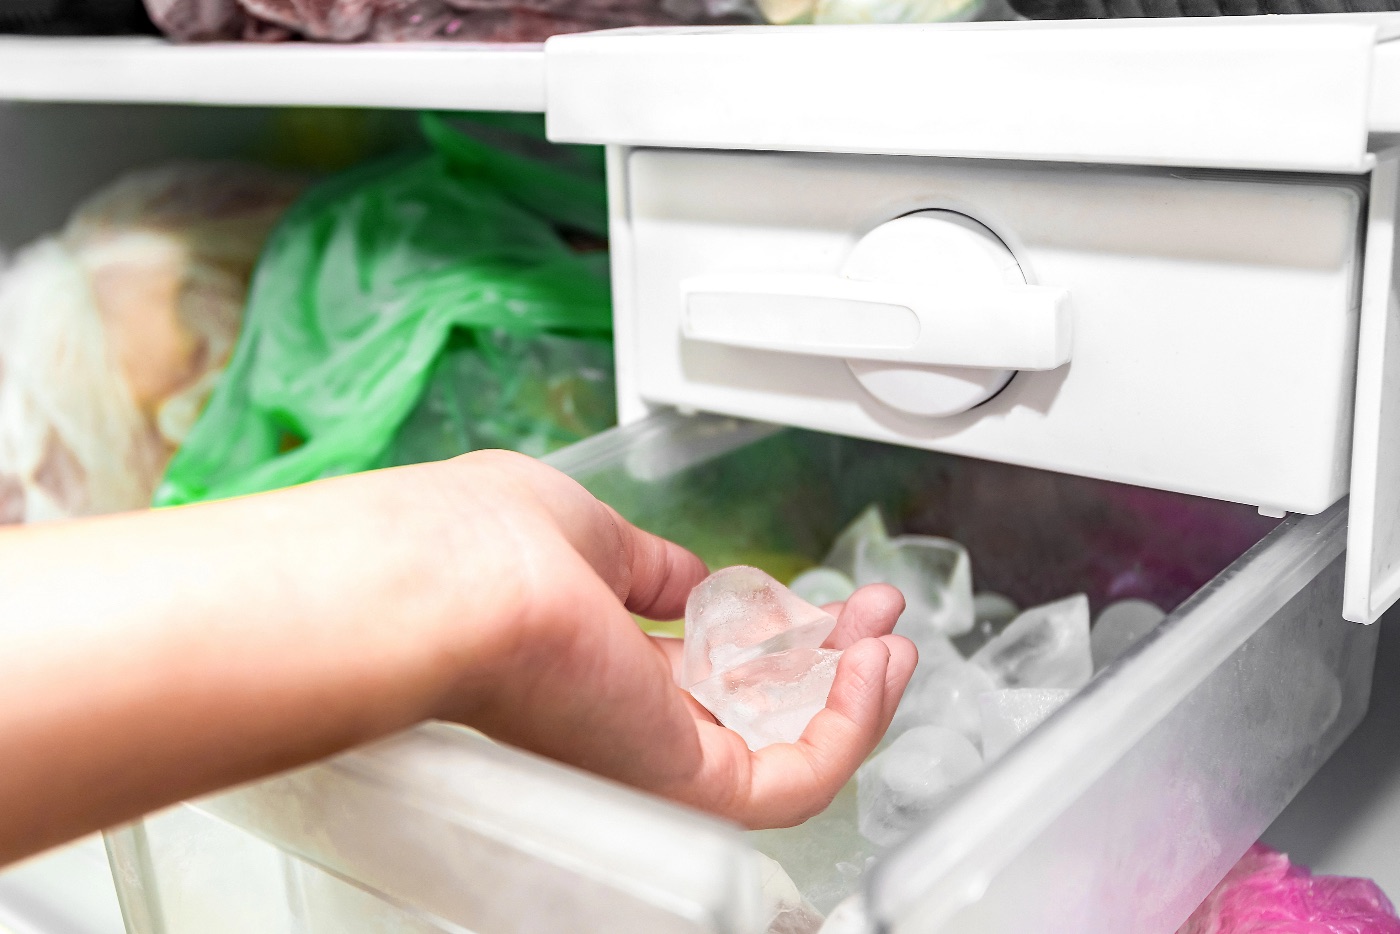
After a successful reset, the ice maker should go through a short test sequence. You may hear the motor move, see the arm or tray shift, and then hear water fill the tray. This is a normal sign that the unit is running again.
The first batch of ice may look small, cloudy, or a bit odd. Throw out the first few batches to clear any stale water from the line. Over the next day, production should settle back to its normal pace, which for many models is a fresh batch every few hours.
Signs the Reset Worked
- The ice maker moves or clicks after you restart it
- Water fills the tray within a few minutes
- New ice shows up in the bucket within 24 hours
- The arm and bucket move freely without sticking
If you see these signs, you are done. Keep an eye on the unit for the next few days to make sure the problem does not return.
Why the Reset May Not Work
Sometimes the reset runs fine, but the ice maker still does not produce ice. That usually means the issue is a part, not a setting.
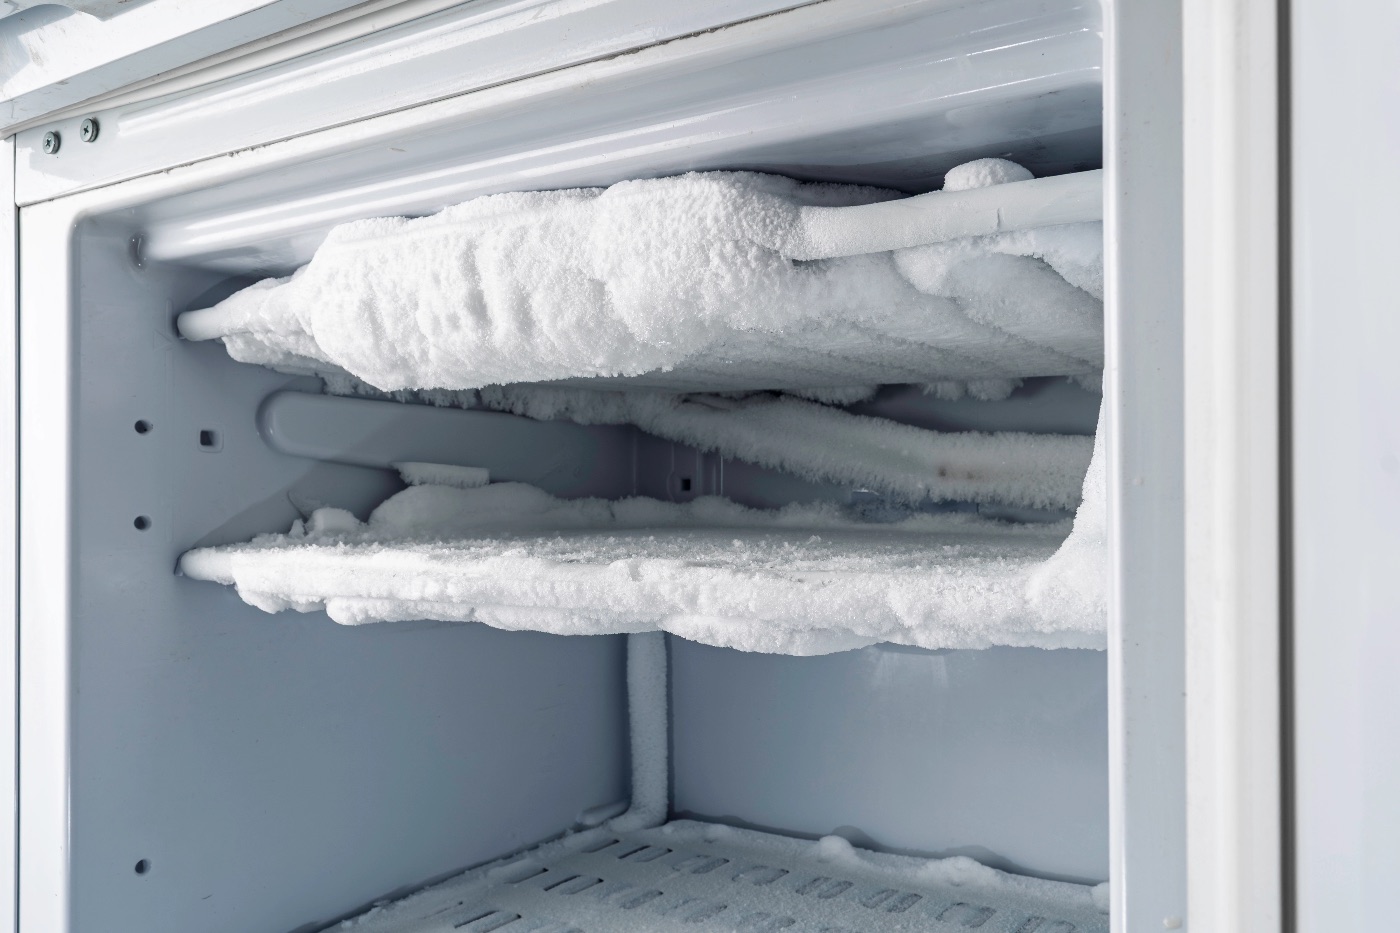
A frozen or clogged water line can block the flow of water to the tray. A bad water inlet valve may fail to open, even though it has power. An old water filter can slow the flow so much that the tray never fills. Cracked plastic parts, a worn motor, or a failing control module can also stop the cycle for good. Heat is another culprit. If the freezer runs above 10°F, ice may form slowly or not at all. In that case, the ice maker is only a symptom, and the real issue may be with the refrigerator's cooling system.
When to Call for Ice Maker Repair
Call for ice maker repair if you have tried the reset steps and waited a full day with no ice. You should also call if you see water leaking from the unit, hear grinding or clicking that does not stop, or find a solid block of ice around the tray.
Do not use a hair dryer, heat gun, or sharp tools to clear ice buildup. These can melt or crack plastic parts and make the repair larger and more expensive. A trained technician can test the water valve, check the heating element and control module, and replace the failed part safely. Ice maker repair is often a quick, single-visit job, and it costs far less than replacing a refrigerator.
Appliance Repair in Brookline
For Brookline homeowners, a pro is only a call away when the reset does not do the job. Appliance repair in Brookline covers refrigerators, ice makers, ovens, washers, dryers, and dishwashers, and many visits end with the problem solved on the spot.
Local technicians know the brands common in Brookline kitchens and carry popular ice maker parts, such as water valves and control modules. That means fewer delays and a better chance of finishing the repair in one trip. If your refrigerator is also running warm or leaking, mention that when you call so the technician can check the whole system.
A quick professional diagnosis will tell you exactly what is wrong and whether the fix is a small part or something larger, so you can make a clear, confident decision.
Get Your Ice Maker Working Again Today
Tried the reset and still no ice? Book your ice maker repair and appliance repair in Brookline with Common Appliance Repair today.
Our technicians diagnose the real cause, fix it with the right parts, and get your refrigerator running the way it should.
Schedule online to bring back fresh, cold ice at home.